Create Dataset
Create your first Dataset in Alviss AI to organize data for modeling simulations predictions and optimizations.
Welcome to the Alviss AI Getting Started series! This tutorial focuses on the essential first step: creating a Dataset. Datasets are the foundation for building models, running simulations, predictions, optimizations, and more. Before diving into advanced features, you'll need to upload and organize your data correctly.
We'll walk through transforming your raw data into the supported format, uploading it to the platform, and finally creating a Dataset. By the end, you'll have a ready-to-use Dataset for your projects.
Step 1: Transforming Your Data
Alviss AI requires data to be structured in a specific way for accurate modeling. You can upload data in either wide format (where each column represents a variable) or long format (where each row corresponds to a single data entry). The choice doesn't affect platform behavior post-upload, so pick whichever is easiest to transform from your current data sources.
You can mix wide and long formats across different files without issues.
Let's use sales data as an example to illustrate.
Long Format Example (Sales Data)
In long format, each row is a unique observation:
| Country | Region | Grouping | Date | Product | UnitsSold | PricePerUnit | ProfitPerUnit |
|---|---|---|---|---|---|---|---|
| SWE | all | all | 2018-01-07 | Health | 292.00 | 362.9658 | 120.0 |
| SWE | all | all | 2018-01-07 | Life | 1489.00 | 1990.8113 | 550.0 |
| SWE | all | all | 2018-01-07 | Pc | 30212.33 | 546.3061 | 220.0 |
| SWE | all | all | 2018-01-14 | Health | 275.00 | 391.5818 | 120.0 |
| SWE | all | all | 2018-01-14 | Life | 1359.00 | 5241.0199 | 550.0 |
| SWE | all | all | 2018-01-14 | Pc | 27306.00 | 478.0982 | 220.0 |
Wide Format Example (Sales Data)
In wide format, variables are spread across columns:
| Country | SWE | SWE | SWE | SWE | SWE | SWE |
|---|---|---|---|---|---|---|
| Region | all | all | all | all | all | all |
| Product | Health | Life | Pc | Health | Life | Pc |
| Grouping | all | all | all | all | all | all |
| Metric | UnitsSold | UnitsSold | UnitsSold | PricePerUnit | PricePerUnit | PricePerUnit |
| 2018-01-08 | 292 | 1489 | 30212.33333 | 362.9657534 | 1990.811283 | 546.3061282 |
| 2018-01-15 | 275 | 1359 | 27306 | 391.5818182 | 5241.0199 | 478.0982202 |
| 2018-01-22 | 359 | 1431 | 25467 | 285.7465181 | 2303.684836 | 417.5839321 |
| 2018-01-29 | 411 | 1481 | 22027 | 306.7177616 | 4008.871708 | 345.5292141 |
| 2018-02-05 | 533 | 2382 | 50881 | 361.6679174 | 2419.802687 | 348.0693776 |
Key Fields Common to All Files
These fields are required in every data file and define the structure of your data:
- Country (string, required): Use a three-letter ISO 3166 code (e.g., "SWE" for Sweden) to indicate where the data originates.
- Region (string, required): Specify a region within the country (e.g., "all" for nationwide or an ISO 3166-2 code like "SE-AB" for Stockholm County).
- Grouping (string, optional): For extra segmentation, such as sales channels or customer types (e.g., "all" if not needed).
How you segment data into country, region, and grouping affects modeling: each unique combination gets its own model. Simulations, predictions, and optimizations operate at this level. Aim for independence—e.g., if marketing in Norway doesn't affect Germany, structure by country. If no further split is needed, use "all" for region and grouping.
- Date (required): Must follow ISO 8601 format for consistency:
- Basic:
YYYY-MM-DD(e.g., 2018-01-07). - With time:
YYYY-MM-DDTHH:MM:SS(e.g., 2018-01-07T14:30). - With timezone: Append
±HH:MM(e.g., 2018-01-07T14:30+01).
- Basic:
Using ISO 8601 avoids errors in temporal alignment.
File-Specific Information
Beyond the common fields, each file type has unique requirements. For sales data (as in our example):
- UnitsSold (integer or float, required): Number of units sold (e.g., 292). Fractions are okay for averages.
- PricePerUnit (float, required): Average price per unit in local currency (e.g., 362.97). Use period (.) as decimal separator.
- ProfitPerUnit (float, optional): Average profit per unit (e.g., 120.0). Include for margin analysis.
- Product (string, required): Product identifier (e.g., "Health", "Life", "Pc").
Text fields (e.g., Product) only allow: 0123456789abcdefghijklmnopqrstuvwxyzABCDEFGHIJKLMNOPQRSTUVWXYZåäöüøæÆÄÅÖÜßØ()_+-. Avoid special characters to prevent upload errors.
Alviss AI supports various file types for different data aspects. Here's a quick overview (see linked docs for details):
- Sales: Tracks units, prices, and profits for revenue modeling.
- Brand: Brand perception metrics like awareness and liking.
- Competitor Brand: Competitors' perception metrics.
- Distribution: Network metrics like store counts.
- Competitor Distribution: Competitors' distribution data.
- Media: Advertising investments and metrics (e.g., impressions).
- Competitor Media: Competitors' media data.
- Competitor Price: Competitors' pricing for elasticity analysis.
- Customer Experience: CX investments for ROI estimation.
- Events: Disruptions like outages.
- Extra: Custom variables.
- Macro: Economic indicators like unemployment.
- Visits: Traffic metrics to sites or stores.
- Weather: Environmental data like precipitation.
Ensure your data matches the project's granularity (set during project creation—e.g., daily, weekly).
Step 2: Saving in the Right File Format
Once structured, save your files in a supported format:
- CSV (Comma-Separated Values): Simple text files. Use commas as separators.
In Excel, some regions default to semicolons (;). Explicitly choose commas when saving as CSV.
- Excel (.xlsx): Standard spreadsheet format.
Excel may change dates based on your locale (e.g., MM/DD/YYYY). Export dates as text or force ISO 8601 to avoid issues.
For full details, see File Format.
Step 3: Uploading the Files
With files ready:
-
Log in to Alviss AI and open your desired project.
-
Navigate to Data > Uploads.
-
Click Upload New Data.

-
On the upload page:
- Optionally set a custom Name for the batch (e.g., "Q3_2025_Sales_Data_").
- Drag and drop or click to select files for each file type (e.g., Sales, Media).
 5. The platform checks for inconsistencies during upload and notifies you of issues.
Step 4: Creating the Dataset
After uploading, create a Dataset to bundle files for use in modeling:
-
From the uploads page, click Create a New Dataset using your uploaded files.

-
Set a Name for the Dataset and add optional notes.

-
Optionally extend an existing Dataset with these new files.

-
Include previous uploads if needed.

-
Add external variables (e.g., custom metrics).
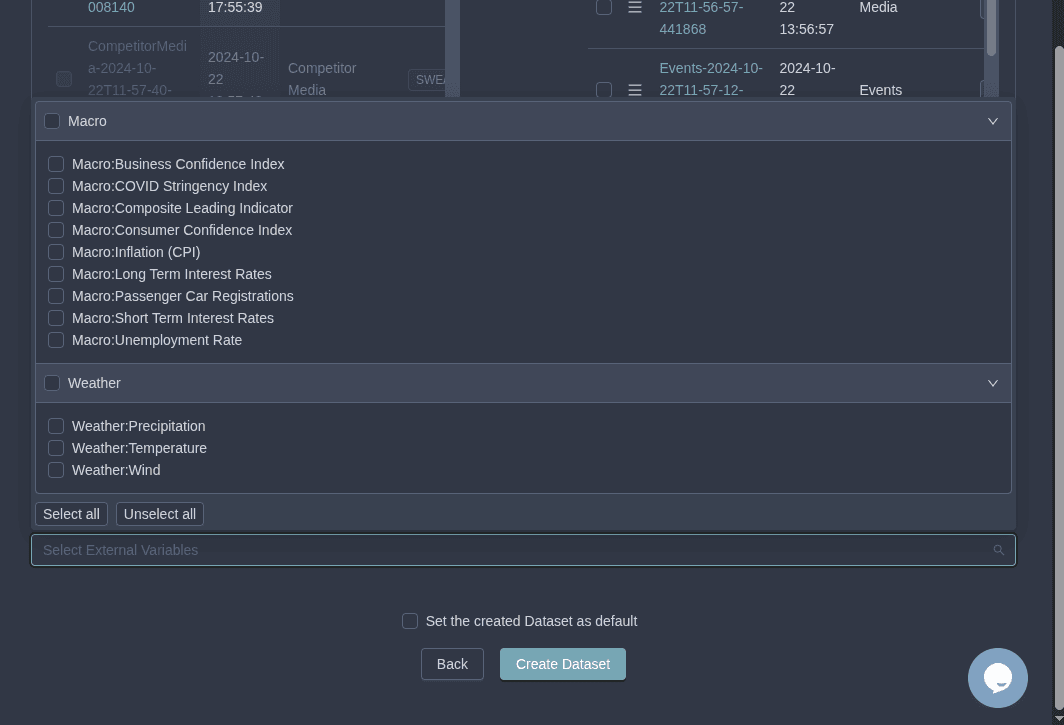
-
Click Create Dataset. You'll be redirected to the Dataset's details page.
Your Dataset is now active and ready! Activate it as the Active Dataset to use it in dashboards like Activities or proceed to model building.
Inspect your data in the Activities dashboard for outliers or issues before modeling. Use Filtering for precise anal ysis.
This completes the Dataset creation tutorial. Next in the series: Building Your First Model. If you encounter issues, refer to the full Data Specification. Happy analyzing!